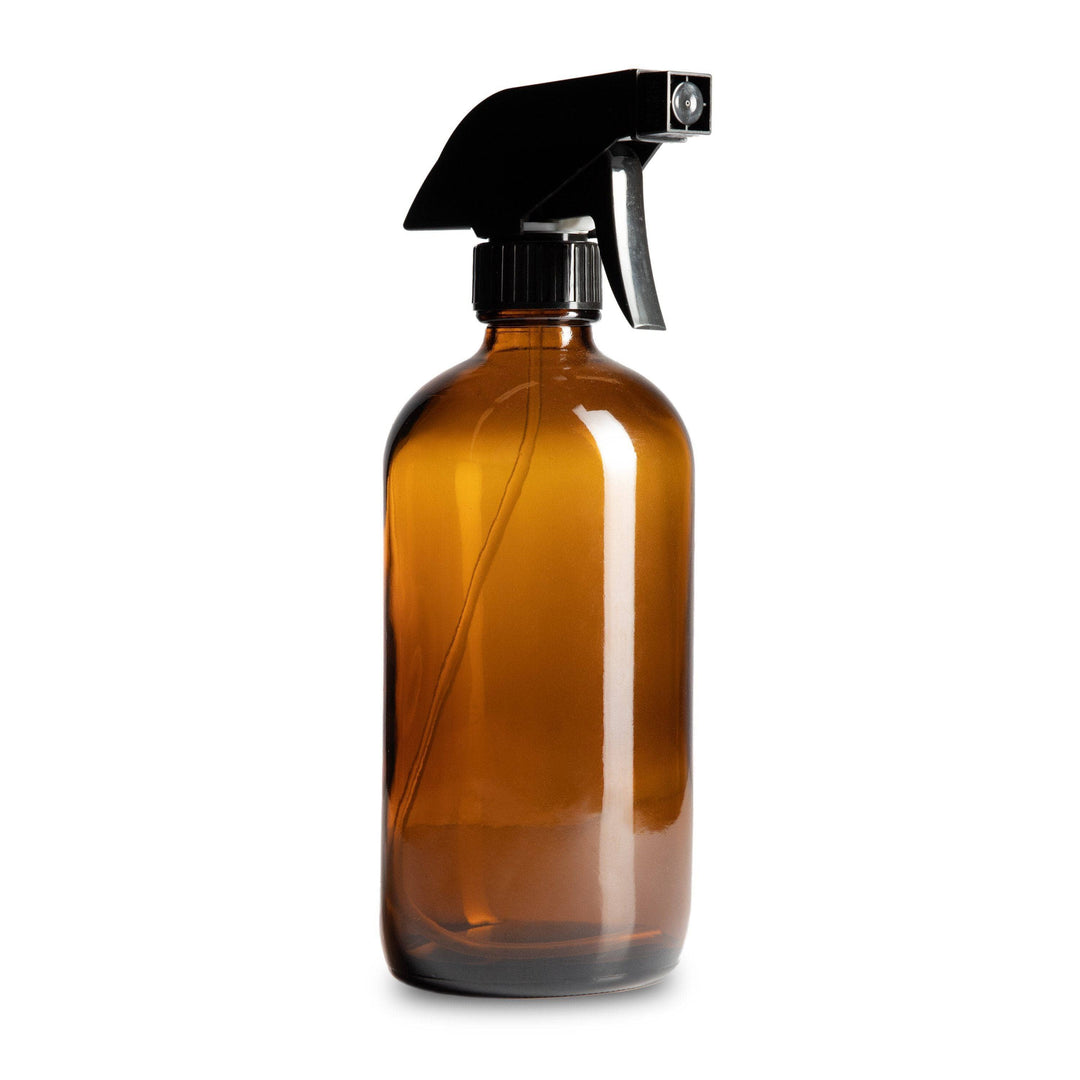


How To Use: Spray Tops
Screwing on the top of a spray bottle and adjusting the dip tube are essential steps in preparing a spray bottle for use. Whether you're using it for cleaning solutions, DIY beauty products, or any other liquid application, ensuring the spray mechanism is properly assembled is crucial for effective and efficient use. Here's a detailed guide on how to screw on the top of a spray bottle and adjust the dip tube:
Materials Needed:
- Spray bottle
- Spray top (also known as a trigger sprayer or pump sprayer)
- Liquid for filling the bottle (if applicable)
- Scissors or sharp cutting tool
Steps:
-
Prepare Your Materials: Lay out all the components you'll need for assembling the spray bottle on a clean, flat surface. Ensure that both the spray bottle and spray top are clean and dry.
-
Insert the Dip Tube: If your spray top has a dip tube (a long, thin tube attached to the underside of the sprayer), insert it into the container to see the desired tube length.
-
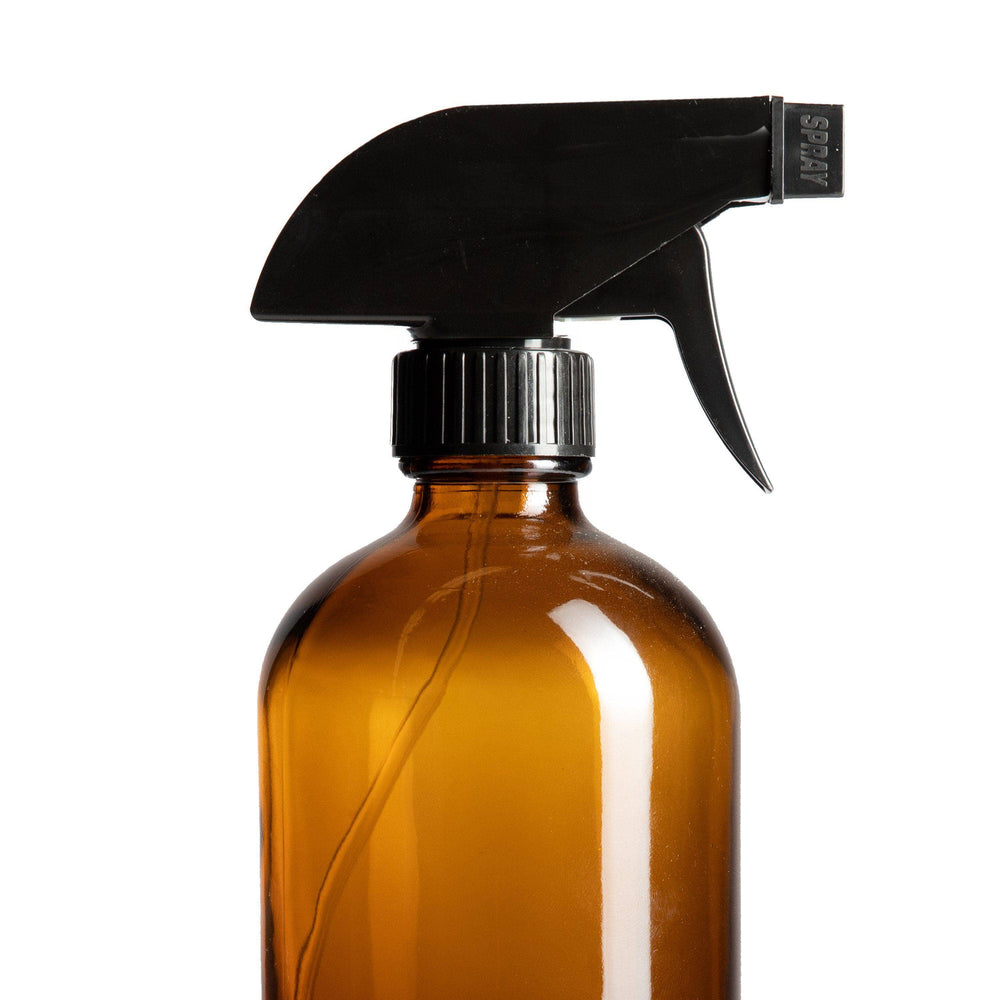
Screw On the Spray Top: Align the threads of the spray top with the threads of the spray bottle neck. Carefully screw the spray top onto the bottle in a clockwise direction. Be gentle to avoid cross-threading, which can damage the threads and cause leaks.
-
Check for Tight Seal: Once the spray top is screwed on, ensure it is securely tightened onto the bottle. Give it a slight twist to confirm that it is snugly in place. A tight seal is important to prevent leaks and ensure proper functioning of the spray mechanism.
-
Adjust the Dip Tube Length (if necessary): If the dip tube is too long for your bottle, you may need to trim it to the appropriate length. Remove the spray top from the bottle and carefully measure the desired length of the dip tube, keeping in mind the depth of the liquid in the bottle.
-
Cut the Dip Tube: Using scissors or a sharp cutting tool, carefully cut the dip tube to the measured length. Make sure to cut the tube at a clean, straight angle to ensure proper suction of the liquid.
-
Reassemble the Spray Bottle: After trimming the dip tube, reinsert it into the liquid container of the spray top. Then, screw the spray top back onto the bottle, following the same steps as before.
-
Test the Spray Mechanism: Once the spray bottle is fully assembled, test the spray mechanism by pressing the trigger. Ensure that the liquid is dispensed smoothly and evenly in a mist.
-
Final Check: Before using the spray bottle for its intended purpose, double-check all connections and seals to ensure there are no leaks or issues with the assembly.
Following these steps will help you properly screw on the top of a spray bottle and adjust the dip tube to make it the right size for the bottle. With your spray bottle assembled correctly, you can now effectively and efficiently dispense liquids for various applications. Should you have any consistency issues make sure that you have the right top for the viscosity of your ingredients. Should you need help with this contact our customer service team: contact@youroiltools.com